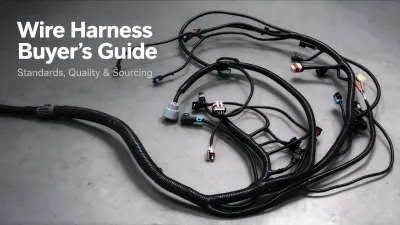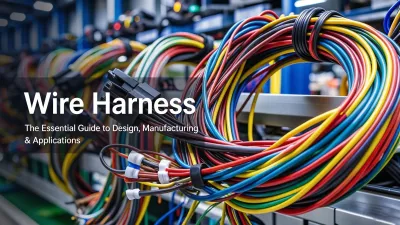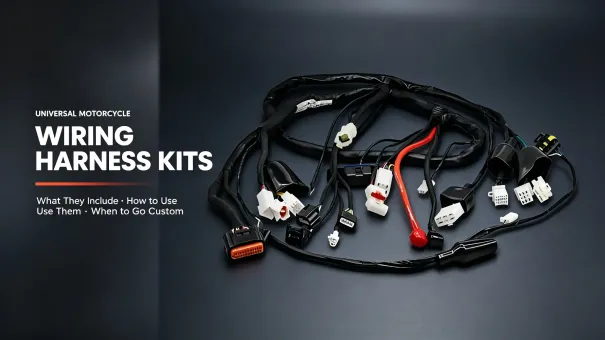
Universal motorcycle wiring harness kits simplify rewiring, repairs, and electrical modifications for motorcycles. But one critical fact cannot be overlooked: "universal" does not mean compatible with every motorcycle. These pre-assembled looms only fit bikes whose electrical architecture, voltage, circuits, and connector types can be matched to the kit. This guide helps DIY builders, repair technicians, modification enthusiasts, and procurement buyers evaluate kit contents, verify fitment, avoid common wiring mistakes, and decide between universal, model-specific, and custom harnesses.
What Is a Universal Motorcycle Wiring Harness Kit?
A universal motorcycle wiring harness kit is a pre-built main wiring loom with standardized circuits for basic motorcycle electrical functions. It is designed for a range of applications rather than one specific motorcycle model. Its actual compatibility depends on the circuits included, the motorcycle's electrical architecture, the ignition and charging systems, and the connectors and components that need to be retained. Some installations require additional wiring, connector changes, or other modifications.
These kits are intended to reduce the labor involved in full rewiring for older bikes, custom cafe racers, bobbers, and project builds where OEM wiring has corroded, melted, or gone missing. Depending on the product, a universal harness kit may include pre-assembled wiring branches, fuse holders, relays, connectors, and terminals. The included components and circuit coverage vary, so check the product BOM and wiring diagram before purchase.
Universal Kits vs. OEM and Model-Specific Harnesses
OEM factory harnesses:Designed for a specified vehicle configuration, with circuit layouts and connectors matched to the original electrical system. Confirm the exact model year, variant, and part number before ordering.
Model-specific aftermarket harnesses:Designed for listed models or configurations. Connector compatibility, branch lengths, and circuit coverage vary by product, so verify fitment details before installation.
Universal harness kits:Standardized circuits intended for common 12V motorcycles with relatively simple electrical systems. They have no fixed model fit; some installations require trimming wire lengths, swapping connectors, or adding extra circuits. They can be economical for custom builds but demand electrical knowledge.
Common Applications in Motorcycle Builds and Repairs
-
Full rewiring of classic motorcycles with rotted, brittle original wiring.
-
Simplified electrical systems for custom builds (cafe racers, bobbers, scramblers) with stripped-down electronics.
-
Electrical upgrades:adding auxiliary LED lights, horn, auxiliary power ports, and aftermarket switches.
-
Rebuilding project bikes where the original wiring harness has been cut and spliced beyond repair.
-
Low-volume small-batch builds where ordering a model-specific OEM harness is not cost-effective.
Key limitation:Many basic universal kits are designed for 12V motorcycles with relatively simple electrical systems. Supported ignition types, lighting circuits, and charging-system configurations vary by product. Check the manufacturer's specifications and wiring diagram rather than assuming compatibility from the term "universal."
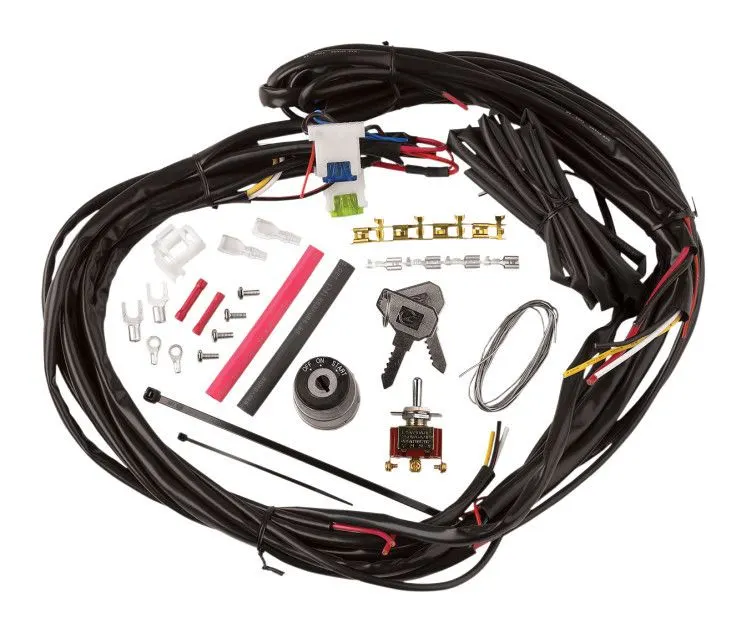
What Does a Universal Motorcycle Wiring Harness Kit Include?
No two universal kits carry identical parts. The component list varies between complete harnesses, partial repair sections, and minimalist custom-build looms. Use this table as a reference, and always verify the product BOM and wiring diagram before purchasing.
Table 1:Universal Harness Kit Components & Verification Checklist
|
Component
|
Primary Function
|
Items You Must Verify Before Purchase
|
|---|---|---|
|
Main wiring loom + branch circuits
|
Power distribution and control wiring for the circuits supported by the kit, which may include ignition, lighting, starting controls, and accessories
|
Number of circuit branches, wire gauge, total wire length, insulation rating, and wire color coding (do not rely solely on color)
|
|
Fuse holder + fuses
|
Provides overcurrent protection for the circuits covered by the fuse arrangement.
|
Verify the fuse layout, ratings, fuse type, and the circuits protected by each fuse against the kit's wiring diagram
|
|
Relays and starter solenoids
|
May control selected electrical loads or the starter circuit, depending on the motorcycle's design
|
Verify coil voltage, contact ratings, terminal assignments, and the intended circuit before installation
|
|
Handlebar switches
|
Manual control for lights, turn signals, kill switch, horn, and starting controls
|
Contact current capacity, mounting hole size, pin assignment, sealed construction
|
|
Connectors & crimp terminals
|
Removable plug connections between loom and components
|
Connector size, locking structure, sealing requirements and ingress protection rating where specified, terminal pin count, crimp quality
|
|
Ground leads & lugs
|
Provide the grounding or return connections specified by the motorcycle's electrical design
|
Lug size, ground wire gauge, quantity of designated ground points
|
|
Optional accessories
|
Loom protection & finishing
|
Split braided tubing, heat-shrink tubing, zip ties, rubber grommets, strain reliefs, inline fuse holders
|
How to Check Whether a Universal Motorcycle Wiring Harness Fits
Do not buy based only on model name or wire color. Follow this four-step pre-purchase compatibility check to avoid wasted time and parts.
Confirm System Voltage and Electrical Architecture
Many universal motorcycle wiring harness kits are designed for 12V motorcycles, but supported lighting, ignition, and charging configurations vary. Confirm the kit's wiring diagram and the motorcycle's electrical specifications before purchase. A 12V harness kit is not a direct replacement for a 6V electrical system. Converting a motorcycle to 12V may require changes to the charging system, lighting, ignition components, or other electrical equipment, depending on the original design and the components used.
Identify whether the headlight and other lighting circuits use AC or DC power. Check the bulb or LED driver's voltage requirements and the kit's circuit design before connecting them. An incompatible supply or charging arrangement can cause malfunction or component damage.
Identify Ignition and Charging System Requirements
Check whether the kit supports the motorcycle's specific ignition system, such as AC-CDI, DC-CDI, transistorized ignition, or another configuration. Verify the ignition module, coil, pickup or trigger wiring, and kill-switch circuit against the manufacturer's diagram.
EFI, ECU-controlled ignition, ABS, and CAN bus systems may require dedicated power circuits, sensor wiring, communication lines, and model-specific connectors. A basic universal harness may not include these circuits. Before adapting one, compare the kit diagram with the motorcycle's wiring diagram and determine which original circuits and control modules must remain functional.
Verify the stator configuration and match the charging circuit wiring against the kit diagram.
Check Lighting, Instruments, and Accessory Circuits
-
List every electrical function your bike needs:headlight, high/low beam, turn signals, brake light, tail light, horn, neutral indicator, starter button, kill switch.
-
Cross-check against the kit's circuit diagram:if the kit lacks a dedicated wire for the neutral switch or brake light trigger, you will need to add branches manually.
-
Calculate the current draw of each accessory and the combined load on the relevant circuits. Check conductor sizing, voltage drop, connector and switch ratings, relay ratings where applicable, fuse protection, and the motorcycle's available charging capacity before adding loads.
Compare Connectors, Mounting Space, and Harness Routing
-
Match terminal types:Many universal kits use bullet connectors. If your OEM components use multi-pin molded plugs, you may need to cut off kit terminals and crimp on new plugs.
-
Measure frame routing space:Full-size universal looms often have longer branch lengths than compact frames on small pit bikes and scramblers. Excess wire must be bundled neatly away from exhaust heat and moving engine parts.
-
Check mounting positions for the fuse block and relays;ensure there is room to secure them away from water, mud, and high-temperature surfaces.
How to Install a Universal Motorcycle Wiring Harness
Never treat these steps as a universal wiring procedure. Always follow the kit manufacturer's wiring diagram and your motorcycle's service manual. Wire color codes differ between brands, so never match wires by color alone.
Review the Wiring Diagram Before Disconnecting Components
Print out the schematic, label every circuit, and take photos of the original OEM wiring before disassembly. Use a multimeter to confirm wire functions, not just color coding. Follow the service manual's specified order for disconnecting the battery—usually the negative terminal first, and usually reconnecting the negative terminal last.
Remove or Isolate the Existing Wiring as Required
Disconnect the negative battery terminal as specified by the service manual. Strip out the old loom completely or isolate damaged sections if you are only replacing partial wiring. Remove sharp metal edges that could abrade new wire insulation.
Route and Secure the New Harness
Run the main loom along the frame and route branches to the headstock, engine, tail section, and handlebars. Secure the loom with zip ties and rubber grommets. Keep wiring clear of exhaust components, chain, brake levers, and suspension travel, following the manufacturer's routing and clearance requirements.
Connect Circuits According to the Approved Diagram
Connect circuits in the order specified by the kit wiring diagram and service manual. Use the specified crimping or joining method for each connection. Apply suitable sealing, insulation, and strain relief where required by the connector design and installation environment.
Inspect and Test Before Returning the Motorcycle to Service
Confirm each fuse rating matches its protected circuit. Test every electrical function one at a time:ignition, starter, all lights, turn signals, horn. Before testing circuit continuity or resistance with a multimeter, confirm the circuit is de-energized and isolate related components as required by the service manual to avoid damaging electronic modules.
Verify circuit operation under the specified load and check for abnormal heating, voltage drop, loose connections, or signs of insulation damage. Compare measurements with the applicable service information and component specifications.
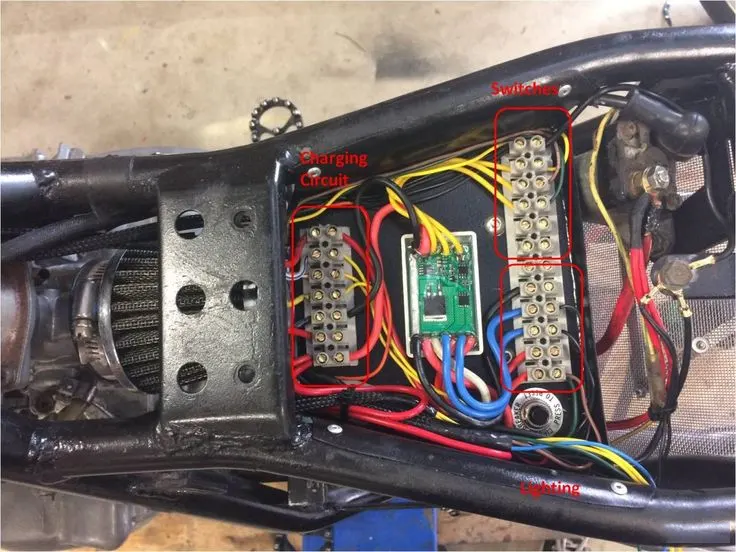
Common Installation Problems and How to Avoid Them
Incorrect Fuse and Wire Selection
Select wire gauge and fuse ratings for each circuit based on the expected current, wire length, installation environment, insulation rating, and applicable design requirements. Do not rely on a generic AWG table for every motorcycle. The fuse must provide appropriate protection for the circuit and conductors, and should never be upsized simply to stop it from blowing.
Poor Ground Connections
Poor ground connections can cause intermittent faults, dim lights, and unreliable operation, although similar symptoms may have other causes. Use the designated grounding points and follow the service manual when checking continuity. Ensure that terminals are secure and protected against corrosion using the specified installation method.
Connector Mismatches and Incorrect Pin Assignments
Plug appearance is not enough to guarantee pinout compatibility. Two identical-looking plugs can have entirely different signal pin arrangements. Always verify pinouts with the schematic instead of plugging components in blindly.
Adding High-Current Accessories
Check the accessory's current draw against the ratings of the switch, wiring, connectors, and protective devices. Where the design requires a relay, use one with suitable coil and contact ratings, and provide appropriate circuit protection. Do not assume that adding a relay alone makes an undersized circuit safe.
Universal vs. Model-Specific vs. Custom Motorcycle Wiring Harnesses
Table 2:Harness Selection Decision Guide
|
Harness Type
|
Best For
|
Primary Limitations
|
|---|---|---|
|
Universal harness kit
|
Simple carbureted custom builds, full rewiring of vintage bikes with basic electronics, low-budget project motorcycles
|
Often requires trimming wires, swapping connectors, and adding circuits; may lack the dedicated power, sensor, communication, and control circuits required by some electronically managed motorcycles
|
|
Model-specific aftermarket harness
|
Stock restoration, direct OEM replacement for a known year/make/model, plug-and-play repair jobs
|
Fixed circuit layout; limited to listed model variants; not designed for adding new accessory circuits
|
|
Custom motorcycle wiring harness
|
Suitable when the required circuit layout, connector interfaces, routing, or electrical functions cannot be met by an available replacement harness, including special frame layouts and small-batch production
|
Requires full electrical schematics, pin definitions, and component connector specs; longer lead time and higher upfront cost
|
Frequently Asked Questions
Are universal motorcycle wiring harness kits truly universal?
No. "Universal" means the kit is intended for a range of applications, not every motorcycle. Compatibility depends on the electrical architecture, included circuits, ignition and charging systems, connectors, and required vehicle functions. Always check the manufacturer's fitment information and wiring diagram before purchase.
Can I install a universal wiring harness without modifying the wiring?
Only if your bike's circuit count, connector types, wire lengths, and ignition system match the kit design. Some installations require wire trimming, terminal replacement, or additional branches, depending on the kit and motorcycle.
Do universal kits include fuses and relays?
Some complete kits include a fuse block, fuses, and relays, while others supply only selected components. Check the product BOM and wiring diagram to confirm what is included.
Can a universal harness work with electronic fuel injection (EFI)?
It depends on the kit and the motorcycle. Many basic universal harnesses do not include all the power, sensor, ECU, and communication circuits required by EFI systems. Compare the kit's wiring diagram with the motorcycle's electrical schematic before deciding whether adaptation is practical, or whether a model-specific or custom harness is more appropriate.
When should I choose a custom motorcycle wiring harness?
Consider a custom harness when an available replacement cannot meet the required circuit layout, connector interfaces, routing, or electrical functions. This may apply to heavily modified motorcycles, certain EFI or ABS configurations, non-standard connector systems, and small-batch builds.
Conclusion: Choose the Harness Based on Compatibility, Not Just Price
Universal motorcycle wiring harness kits can deliver good value for basic rewiring projects and custom builds with stripped-down electrical systems. But remember the core rule:"universal" does not equal "one-size-fits-all."
Before you purchase any kit, confirm your bike's voltage, ignition type, circuit count, connector pinouts, and available mounting space. If your motorcycle runs EFI, ABS, digital dashboards, or CAN bus electronics, or if you need plug-and-play OEM connectors with minimal splicing, a model-specific or fully custom wiring harness may save time and avoid electrical failures over the long term.
For specialized motorcycle wiring projects, evaluate suppliers based on their experience with the relevant electrical architecture, connector systems, documentation requirements, and applicable validation procedures—and confirm the manufacturer's relevant capabilities before relying on them.